Ascending Khan Tengri Peak (7010 m) from Almaty is one of the most accessible seven-thousanders in the world, difficulty category 2B. We, toor, organize tours with certified guides, transfers, accommodation in the base camp on the South Inylchek glacier, and full acclimatization. Season: July–August.
Which route to choose: classic via the southern slope or traverse via Chapaev Peak
For a first ascent of a seven-thousander, the choice of route determines not only difficulty but also safety. Let's analyze two main options: the classic and the traverse.
Classic route via the southern slope — for your first seven-thousander
We lead groups along the classic route through the South Inylchek glacier — this is the safest option for climbers with experience at 5000+ meters, difficulty category 2B. The route starts from the base camp at 3600 m, where the group spends 2-3 days acclimatizing with climbs to Litvinov Peak (4200 m) and Chon-Tor Pass (4600 m). On summit day, the group covers 10–12 hours on snow slopes with steepness up to 40° without ridge sections above category 4 — this is the main technical difference from alternatives. The descent follows the same path, which critically reduces the risk of losing orientation during sudden weather deterioration, typical for the second half of the day in July-August.
Traverse via Chapaev Peak (6371 m) — for experienced climbers
The traverse via Chapaev Peak (6371 m) followed by reaching the summit of Khan Tengri is a route for climbers with experience at 6000+ meters and confident skills in moving in rope teams on ridges. We offer this option as an alternative for those who have already completed the classic and want a more technically rich adventure: here there are rock sections and ridges of 3-4 difficulty category, which are absent on the southern slope. The summit day lasts 14–16 hours, and the descent goes down the northern slope, where avalanche danger is higher and landmarks are less readable due to uniform snow cover without rock markers. The main difference of the traverse is the need to descend along an unfamiliar route, which in cloudy conditions requires flawless GPS track navigation rather than visual markers.
Route comparison: classic vs traverse — table
| Parameter | Classic (southern slope) | Traverse via Chapaev Peak |
|---|
| Difficulty category | 2B | 3A |
| Ascent duration | 10–12 hours | 14–16 hours |
| Technical sections | Glacier, snow slopes up to 40° | Ridges 3-4 class, rock sections |
| Descent | Same route | Northern slope (more difficult) |
| Recommended experience | 5000+ meters | 6000+ meters, traverses |
| Avalanche danger | Low | Medium (northern slope) |
| Group size | up to 8 people | up to 4 people |
For your first seven-thousander, we recommend the classic — it gives more time for acclimatization and fewer technical risks.
Real prices for the ascent: from budget to premium tour
The cost of climbing Khan Tengri consists of several parts. The price of a Khan Tengri tour from Almaty depends on the format — group or individual. Let's break down what the tour price includes and what additional expenses you should budget for.
What is included in the toor tour price: full breakdown
The cost of our tour to Khan Tengri Peak from Almaty ranges from 326,300 KZT to 1,679,830 KZT per person depending on the format — group or individual tour. The base price includes direct transfer from the city to the base camp on the South Inylchek glacier (3600 m), accommodation in two-to-three-person tents, three meals a day throughout the route, and processing of the border zone permit — the guide submits documents two weeks before the start. Also included are the services of a certified guide with experience climbing seven-thousanders and a group first aid kit with altitude medications (Diamox, dexamethasone). Many organizers list a base price without transfer or registration, but this tour includes all the listed services without hidden fees — one price you pay for logistics, accommodation, meals, and paperwork.
Additional expenses: gear rental, insurance, private guide
Additional services include gear rental from 15,000 KZT per set, insurance for high-altitude climbs from 3,000 KZT, and a private guide from 50,000 KZT for the entire route. The basic rental set includes double boots, a down jacket with at least 800 fill, ice axe, crampons, helmet, and headlamp — this is enough for participants without their own high-altitude gear. Insurance covers helicopter evacuation from altitudes up to 7000 m and hospital treatment in Almaty, which is critical for altitude sickness or injury on the route. We recommend budgeting 70,000–100,000 KZT on top of the tour cost — this includes rental of missing gear, insurance, and tips for guides (usually 10–15% of the tour cost).
Tour format comparison: group vs individual — table
| Parameter | Group tour | Individual tour |
|---|
| Cost per person | from 326,300 KZT | from 1,679,830 KZT |
| Number of participants | 4–8 people | 1–2 people |
| Guide | One guide per group | Personal guide |
| Schedule | Fixed dates | Flexible dates |
| Transfer | Included | Included |
| Base camp accommodation | Included | Included |
| Gear rental | Optional (from 15,000 KZT) | Optional (from 15,000 KZT) |
| Insurance | Optional (from 3,000 KZT) | Optional (from 3,000 KZT) |
An individual tour is justified if you have specific dates or want to go at your own pace with a personal guide.
Step-by-step acclimatization: from Almaty to the summit
Proper acclimatization is the key to a successful ascent of a seven-thousander. Let's break down day by day how the program is structured to minimize the risk of altitude sickness.
Day 1–2: Base camp at 3600 m — first steps of adaptation
We start acclimatization with two days at the base camp at an altitude of 3600 m on the South Inylchek glacier — this is enough for the body to adapt to the altitude before going higher. The South Inylchek glacier is one of the largest in Central Asia, its width in the camp area reaches 3-4 km, and crevasses up to 30 meters deep require mandatory roping up even on walks. On the first day at camp — complete rest: only light walks on flat sections of the glacier within 200 meters of the tents, so as not to raise the pulse above 110-120 beats per minute. In the first 48 hours at 3600 m, it is important to drink at least 3–4 liters of water per day and avoid physical exertion — even walking around the camp should be slow, with pulse monitoring.
Day 3–4: Acclimatization climbs to 4200–4600 m
On the third to fourth day, we make acclimatization climbs to Litvinov Peak (4200 m) and Chon-Tor Pass (4600 m) — these are mandatory stages before the summit push. Litvinov Peak is a rocky summit with slopes steepness up to 30-35°, the ascent takes 3-4 hours in crampons on a firn field; Chon-Tor Pass is a snow-ice ridge with sections of bare ice requiring ice axe work and self-belay. Both climbs provide a gradual altitude gain without sharp jumps: from 3600 to 4200 m on the first day, then to 4600 m on the second, with an overnight stay at 4200 m in an intermediate camp. The climb to 4600 m allows checking the body's reaction to altitude: if headache or nausea occurs at this level, we add another day of acclimatization at the base camp.
Summit day: 10–14 hours from base camp to the summit
On summit day, we start at 2–3 AM to reach the summit by 12–4 PM — the ascent takes 10–14 hours depending on weather and group condition. The classic route from base camp to the summit passes through three key sections: the glacier zone up to 4500 m (2-3 hours roped up), the snow couloir at 4500-5800 m (4-5 hours with steepness up to 40°), and the ridge from 5800 to 7010 m (3-4 hours on open ice with mandatory belay via fixed ropes). On summit day, we issue each participant a radio for communication with the guide — this is critical on the ridge where voice is lost due to wind. There are no water sources on the route — you must carry all supplies (at least 1.5 liters in a thermos); we recommend taking a 1-liter thermos for hot tea and a 0.5-liter plastic bottle for water.
Complete gear list: what is mandatory and what can be rented
Gear for Khan Tengri is a safety issue. Let's break down what you must have with you and what can be rented.
Mandatory gear: what you need to buy or bring with you
For climbing Khan Tengri, mandatory items include double boots, a down jacket with at least 800 fill, ice axe, crampons, helmet, and headlamp — without these, we do not let the group onto the route. Double boots with an outer plastic or carbon shell (Scarpa Phantom, La Sportiva Spantik) are the most important element: at the summit, temperatures drop to -25°C at night, and regular mountain boots will not protect against frostbite. Choose an ice axe 60–70 cm long for steep snow, crampons with anti-balling plates for wet firn on the South Inylchek glacier. A down jacket with 800+ fill weighs 0.6–0.8 kg and packs into a compression sack; at -15°C during stops, cheap synthetic analogs do not provide warmth. Take a headlamp with spare batteries for 8+ hours — the summit push starts at 2–3 AM and lasts 10–14 hours, so we recommend Petzl or Black Diamond models with a red light mode: it preserves night vision and does not blind those roped up on the glacier.
What can be rented from toor: prices and conditions
We offer a full gear set rental from 15,000 KZT — double boots, down jacket, ice axe, crampons, helmet, and headlamp; rental is arranged in Almaty before departure. This price includes Scarpa Phantom or La Sportiva Spantik boots for 7000 m with a margin down to -30°C, Petzl ice axe and crampons with anti-balling plates, Petzl Boreo helmet with adjustment for a down hood. Down jacket rental is separate at 5,000 KZT for 10 days, deposit for the full set is 50,000 KZT, returned upon undamaged return. We recommend renting bulky and expensive gear (double boots, ice axe), while personal items — thermos, trekking poles, buff — should be bought in advance: they are inexpensive and will be useful in other trips.
Backpack weight: what to take first — priority table
| Category | Mandatory | Weight (kg) | Rentable from toor |
|---|
| Footwear | Double boots | 2.0–2.5 | Yes (from 15,000 KZT) |
| Outerwear | Down jacket (800+ fill) | 0.6–0.8 | Yes |
| Technical gear | Ice axe, crampons, helmet | 1.5–2.0 | Yes |
| Lighting | Headlamp + spare batteries | 0.2 | Yes |
| Drinking | Thermos 1 L + bottle 0.5 L | 1.5–2.0 | No |
| First aid kit | Personal first aid kit + plasters | 0.3 | No |
| Documents | Passport, border service registration | 0.1 | No (handled by guide) |
The backpack weight on the route should not exceed 12–15 kg — every extra kilogram slows pace and increases oxygen consumption. We recommend packing with the principle "safety first": first aid kit, headlamp, and thermos should be in the top compartment, and the down jacket within reach for stops.
Safety on the route: avalanches, crevasses, altitude sickness
Khan Tengri is one of the most accessible seven-thousanders, but without understanding the three main risks, the climb turns into a lottery. Let's break down where the real danger lies and how to reduce risks.
Avalanche danger: where and when the risk is highest
On the classic route via the southern slope, avalanche danger is low — the main risks occur on the northern slope during descent after a traverse, especially during rapid warming after 11 AM. The steepness of the northern slope reaches 40–45 degrees in sections above 6500 meters, and under direct sun, the top layer of snow melts in 2–3 hours, creating wet avalanches. On the southern slope, snow melts faster, but only dry avalanches from fresh snow occur — their probability is higher after heavy snowfalls in late July. The guide assesses the slope visually: characteristic "slabs" and cracks in the snow cover are visible from 50–100 meters. We start the route at 2–3 AM to pass avalanche-prone sections before dawn when the snow is still stable; after 10 AM, movement on steep slopes stops.
Crevasses on the South Inylchek glacier: how to recognize and avoid them
On the South Inylchek glacier, the most dangerous are hidden crevasses covered with snow; we cross them only in rope teams with 8–10 meter spacing between participants. The lower part of the glacier (3600–4000 m) is relatively flat, crevasses here are rare and visible — up to 1–2 meters wide. Above 4200 meters, the icefall zone begins: crevasses go 10–15 meters deep, their edges often hidden by snow bridges 20–50 centimeters thick. The guide checks the snow bridge with an ice axe — if the shaft goes in full length (70 cm) without resistance, the bridge is unreliable, look for a detour. Our guides have a rule: a section with whiter or matte snow is bypassed at least 3 meters away — this is a visual marker of a hidden crevasse that is easy to remember.
Altitude sickness: symptoms, prevention, and actions during exacerbation
At the first symptoms of altitude sickness (headache, nausea, dizziness), we stop the ascent and begin descending 500–800 meters — this is the only effective treatment. At altitudes of 5000–6000 meters, oxygen saturation in a healthy person drops to 60–70% (normal at sea level is 95–98%), and the body activates compensatory mechanisms: rapid breathing, accelerated pulse, increased red blood cell production over 3–5 days. If the ascent is faster than adaptation, cerebral or pulmonary edema develops — both conditions require immediate descent and administration of corticosteroids. Our first aid kit includes dexamethasone and acetazolamide for emergency help, but the main rule: if symptoms do not subside after 30 minutes of rest and medication, we descend, even if only 200 meters remain to the summit.
Buffer days in the tour: what to do if weather turns bad
The tours include 2–3 buffer days in case of bad weather — if on the scheduled summit day it is snowing or windy, the climb is postponed to the next day. At altitudes of 6000–7000 meters, weather changes in 2–3 hours: typical deterioration begins with cirrus clouds, then wind increases to 15–20 m/s, visibility drops to 10–20 meters. In such conditions, moving along the ridge is dangerous — you can lose the route or get frostbite on exposed skin in 5–10 minutes with wind at 15 m/s and temperature -15°C. According to our data, in July–August, good weather "windows" last 2–4 consecutive days, so buffer days are usually enough; if the weather does not improve within 3 days, the group returns to Almaty.
Physical preparation 3 months before the start
Climbing a seven-thousander requires not only experience but also physical fitness. We'll tell you how to prepare in 3 months, even if you live in the city.
What level of fitness is needed for Khan Tengri: minimum requirements
For climbing Khan Tengri, we recommend having experience at altitudes of 5000+ meters and confident skills in moving in rope teams — this is the minimum base for safely navigating a route of difficulty category 2B. Roping techniques are critical on the South Inylchek glacier: there are dozens of hidden crevasses, and without the automatic skill of self-arrest during a fall, you endanger the entire group. Experience at 5000+ is important not so much for technique but for understanding your body at altitude: if you don't know how you react at 5000 m, the risks of altitude sickness at 7000 m increase many times.
Training plan for 3 months: from the city to the summit
Three months before the start, train 4 times a week: two days of strength (squats with a barbell 50–60 kg, lunges with dumbbells 12–15 kg), one day of cardio (running uphill with an 8–10% incline for 40 minutes at a heart rate of 130–140), and one day of long-duration exercise (hike with a backpack 10–15 kg for 4–6 hours with 800–1000 m elevation gain). Alternate cardio: steady running builds aerobic base, while intervals of 1 minute intense / 2 minutes easy at a heart rate of 150–170 simulate work at altitude, where oxygen is a quarter less than normal. Long-duration exercise once a week is mandatory — without it, legs won't get used to 8–10 hours of continuous movement over rocks and ice. The most important thing is simulating altitude load on stairs: 20–30 flights per set with a backpack, which develops the ability to work at a heart rate of 140–160 with oxygen deficiency.
What to do if you have no experience at 5000+ — is it realistic to prepare in one season?
If you have no experience at 5000+, start with a climb of Litvinov Peak (4200 m) or Komsomol Peak (4376 m) in the same season — this will give you an understanding of your body's reaction to altitude without the risk of serious hypoxia. Both peaks are technically simple routes of category 1B, completed in 1–2 days from the base camp on the South Inylchek glacier, and can be combined with the main tour as preliminary acclimatization. We see that climbers who come to Khan Tengri without 5000+ experience encounter altitude sickness at 6000+ in 70% of cases and have to descend — it's better to spend a season on acclimatization than to risk your health.
Typical mistakes of beginner climbers on Khan Tengri
Over the years, we have seen the same mistakes from climbers attempting their first seven-thousander. Here are the five most common — and how to avoid them.
Mistake 1: Underestimating acclimatization and trying to "save" a day
The most common mistake is trying to shorten acclimatization from 3 to 2 days to "save time"; in 90% of cases, this leads to altitude sickness at 6000+ and failure of the climb. The body physically cannot adapt in 48 hours: at the base camp altitude of 3600 m, oxygen levels are already 40% lower than normal, and at the high camp of 5300 m, another 30% less, and even if you feel fine at 4200 m, hypoxia hits suddenly — headache, nausea, loss of coordination. In our practice, there have been cases where a group insisted on a shortened schedule, and a day later a participant was evacuated by helicopter with pulmonary edema. We do not shorten acclimatization even for experienced climbers: the body adapts according to its own biological clock, and this process cannot be accelerated — you can only reduce risks with proper hydration and slow altitude gain.
Mistake 2: Wrong gear choice — economizing on boots and down jacket
The second most common mistake is trying to use regular mountain boots instead of double boots or a lightweight down jacket instead of one with at least 800 fill; at the summit at -25°C, this guarantees frostbite. Single boots freeze through in 15-20 minutes of static standing on the ridge, and a down jacket with 600 fill loses thermal insulation at humidity above 60% — on the South Inylchek glacier, morning humidity reaches 80%, and a lightweight jacket turns into an ice compress. Fingers and toes suffer first: during descent, a 40 km/h wind reduces the effective temperature by another 10-15°C, and the climber gets frostbite of II-III degree within an hour. We check each participant's gear before departure from Almaty: if we see that boots or down jacket are unsuitable, we offer rental — it's better to pay 15,000 KZT for rental than to lose fingers on the descent.
Mistake 3: Ignoring the weather window and attempting to summit in bad weather
The third mistake is deciding to summit despite a forecast of deteriorating weather; on Khan Tengri, wind on the ridge can reach 80 km/h, making the climb deadly. At such speed, a person loses balance even with an ice axe, visibility drops to 2-3 meters due to snow squalls, and the wind chill temperature drops to -40°C — frostbite on exposed facial areas occurs within 30 minutes. The most insidious thing is that weather on Khan Tengri changes in 20-30 minutes: clear in the morning, wind picks up by 10 AM and lasts until evening, so our guides decide to summit only with a stable window of at least 48 hours. They cancel the expedition even if the group is already at the high camp, because safety is more important than reaching the summit.
Mistake 4: Insufficient water intake and dehydration
The fourth mistake is drinking less than 3 liters of water per day at altitude; dehydration at 7000+ worsens altitude sickness and reduces cognitive abilities, leading to wrong decisions on the route. At altitude, the body loses fluid 2-3 times faster due to rapid breathing — each exhale releases moisture, and the dry glacier air evaporates it from the skin unnoticed by the climber. With water deficiency, blood thickens, the heart struggles to pump it to the brain and muscles, and after 4-5 hours without drinking, the climber starts making basic mistakes: forgetting to clip the harness, confusing the route, ignoring the guide's signals. We organize water refill points at each camp and remind participants to drink every 30 minutes — at altitude, the sense of thirst is dulled, and climbers simply forget to drink.
Mistake 5: Climbing without a guide
The fifth mistake is attempting to climb without a guide; on Khan Tengri, cases are recorded annually where independent groups lose the route in fog or fall into crevasses, and rescue operations take days. The South Inylchek glacier is a living glacier; its crevasses change shape every week: in June 2024, a new crevasse 2 meters wide appeared on the classic route that was not on last year's maps, and two independent climbers fell 8 meters deep. Additionally, registration with the border service and a permit for the border zone are only processed through an accredited guide — without one, you simply won't be allowed onto the glacier. We do not recommend climbing Khan Tengri without a guide even for climbers with experience at 6000+: the glacier conditions change annually, and only a local guide knows the current safe paths.
Conclusion
Khan Tengri is a serious challenge that requires preparation, proper gear, and respect for the mountain. Following these principles is the key to a successful and safe ascent.
Key takeaways
- Choose a proven route: The southern (classic) route is the safest and most popular for a first seven-thousander ascent.
- Plan your budget in advance: A full tour with transfer, accommodation, meals, and guide services costs from 350,000 to 550,000 KZT.
- Prepare physically: At least 6 months of training with an emphasis on endurance and altitude work.
- Don't skimp on gear: Double boots, a down jacket with at least 800 fill, and a quality sleeping bag are mandatory minimum.
- Go with a guide: A local guide knows the current glacier conditions and weather patterns, which is critical for safety.


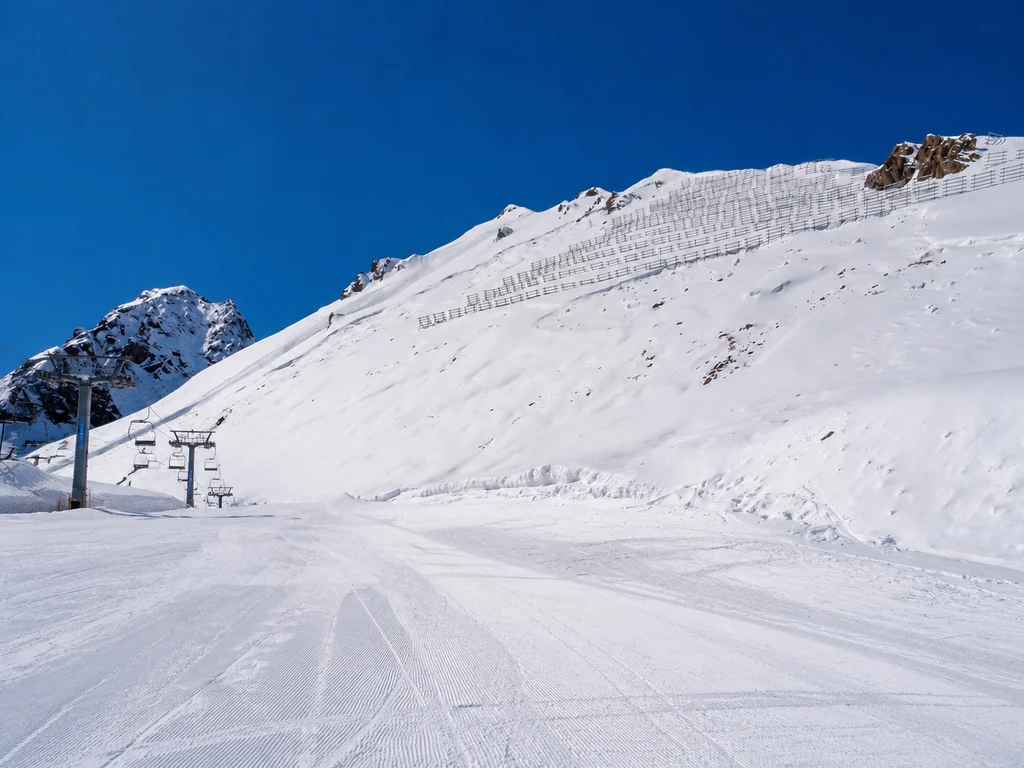
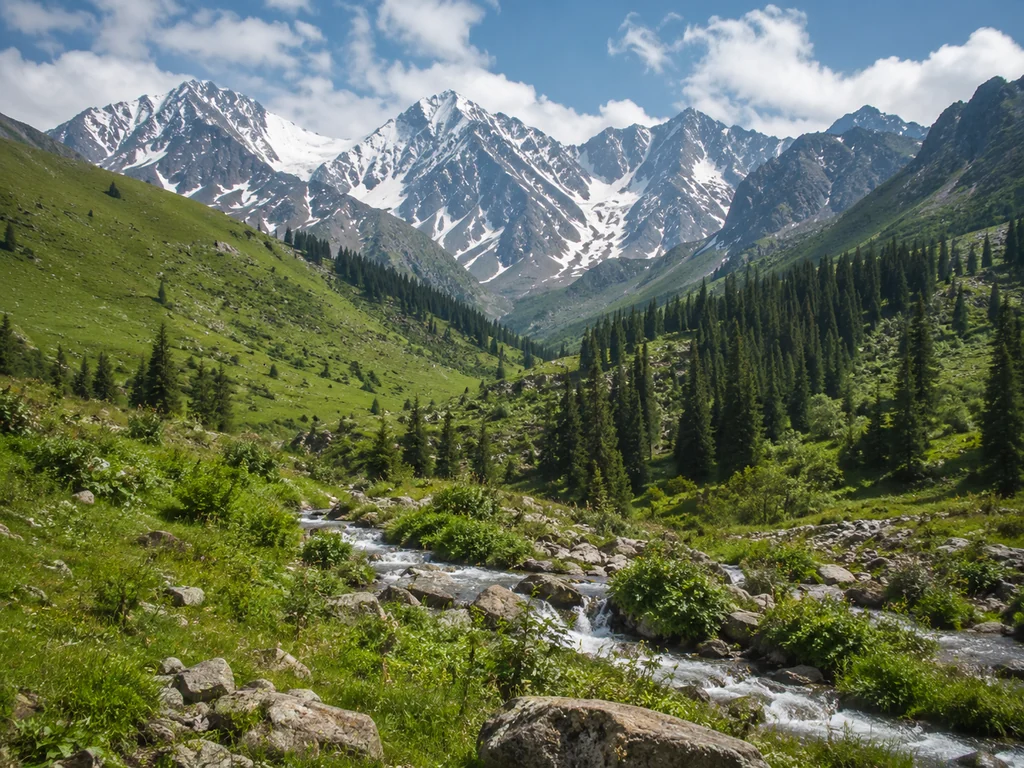
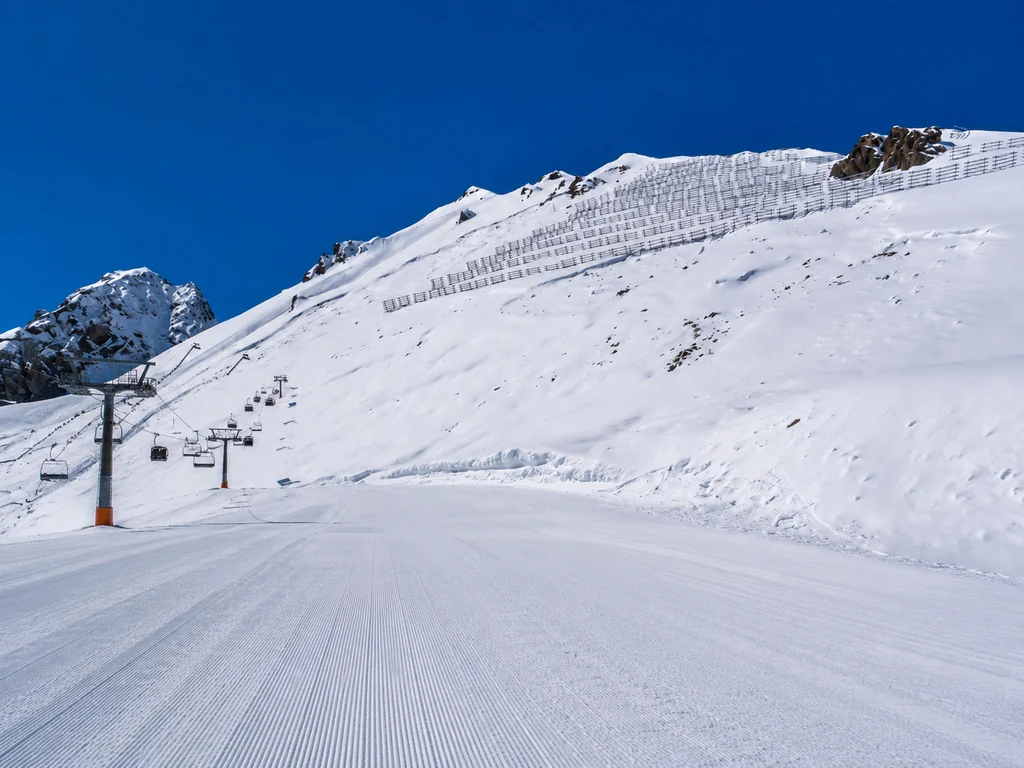

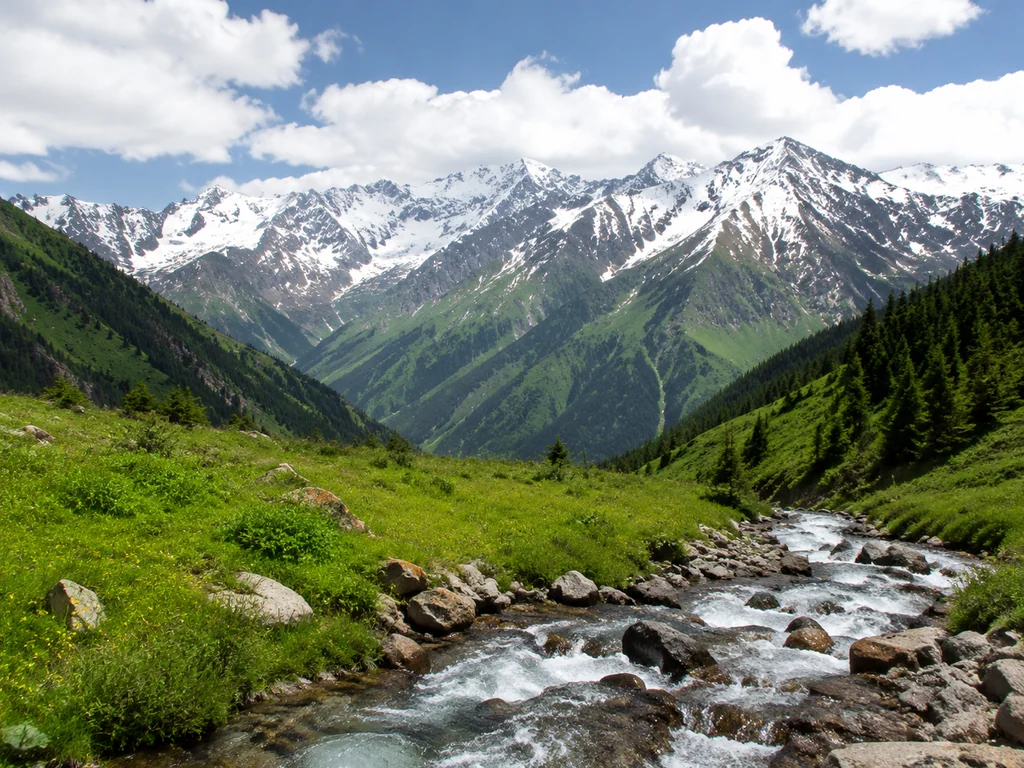


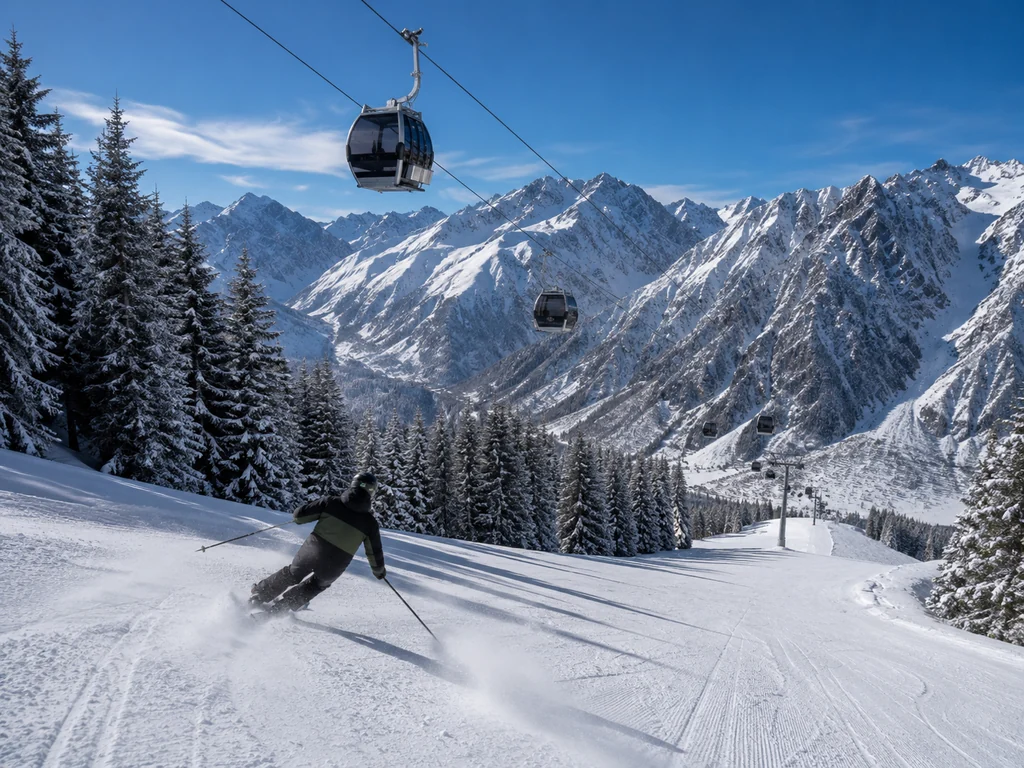
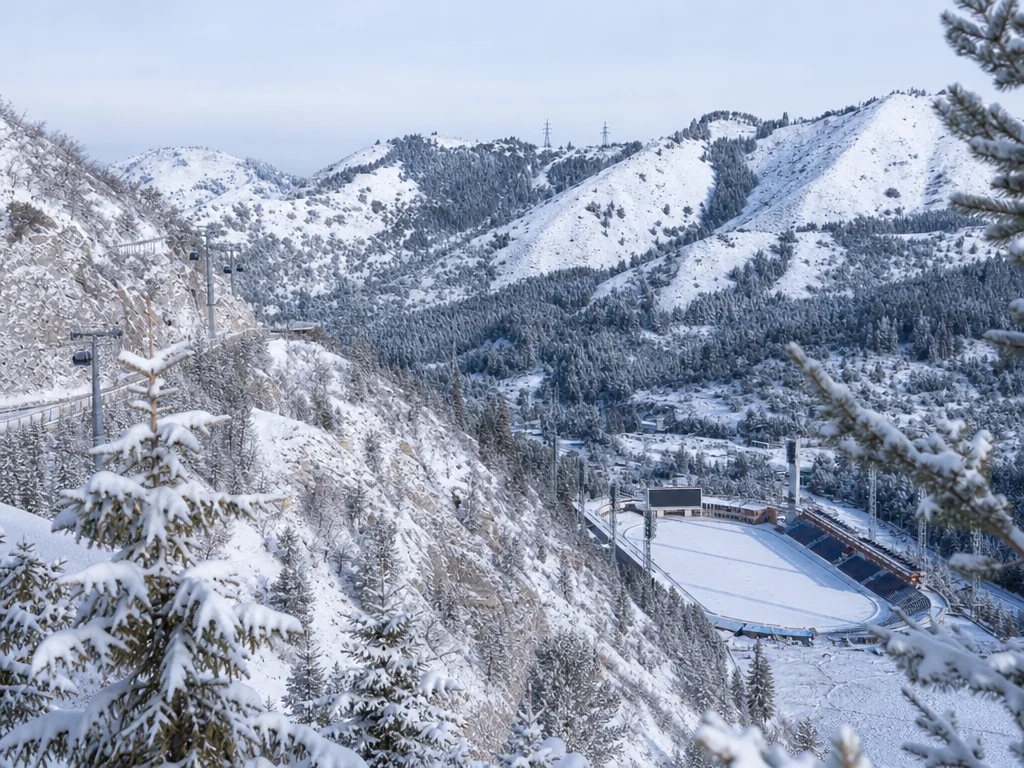 Winter and summer